WordPress: How to Update Database Connection Strings
- Log into your account Hosting Summary.

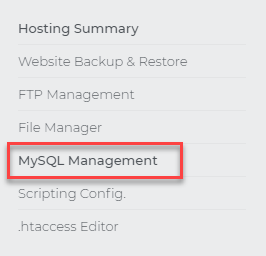
- On the left pane, click MySQL Management.
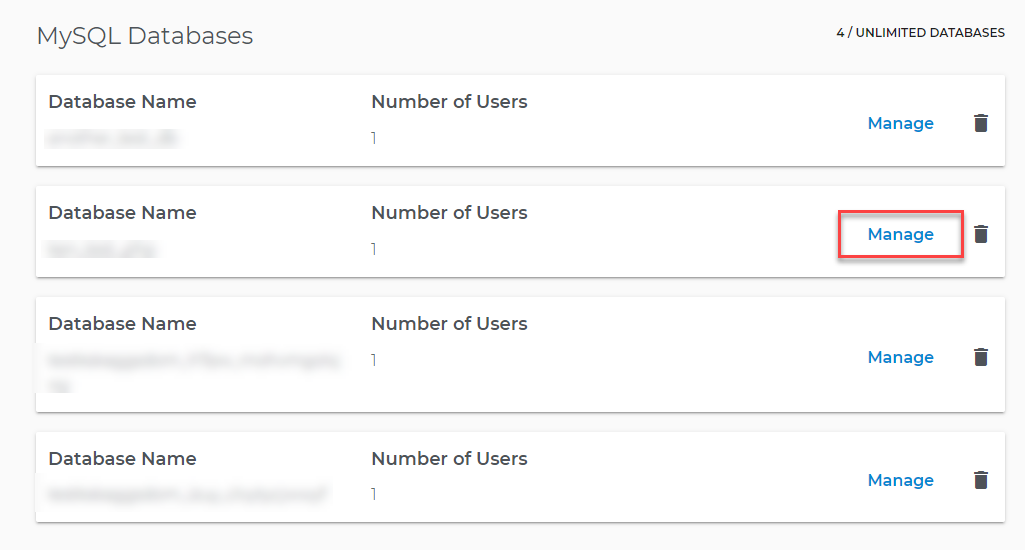
- Here, you can see a list of databases that you've created. To view the details of a particular database, click the Manage link adjacent to it.
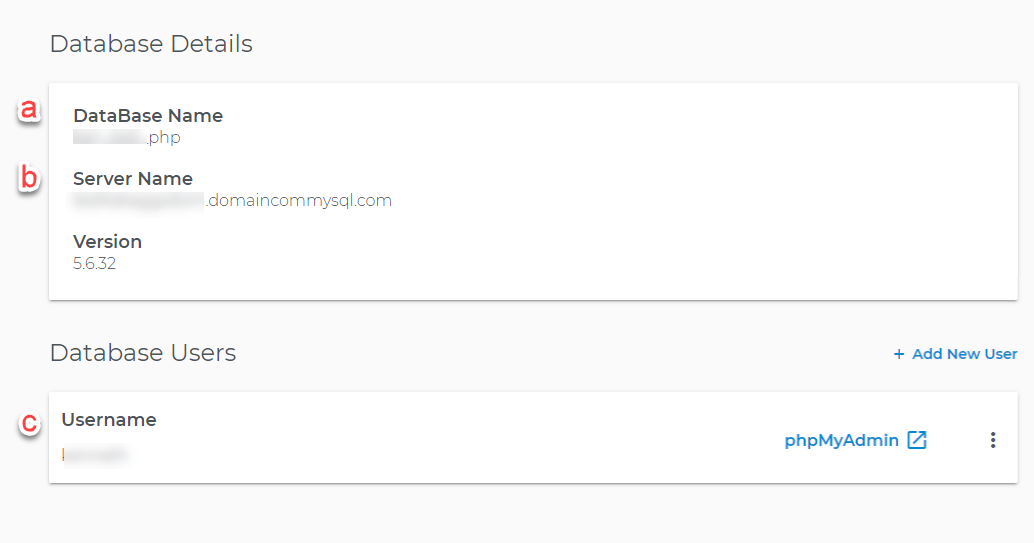
- From the Database Details screen, you can view the following:
b. Server Name
c. Username
How to Update Database Connection Strings
Important: Make sure that you preserve spaces and other coding characters when modifying your connection strings.
- Log in to your account Hosting Summary.

- Go to File Manager.
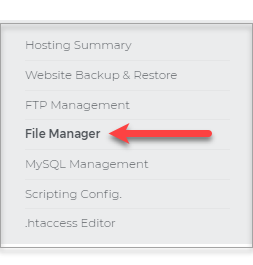
- On the left pane of your File Manager. Select the WordPress folder of the website that you want to update.
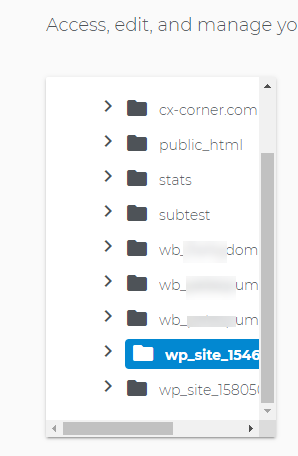
- Locate your website's wp-config.php, then click on the three-dot menu and select Edit.
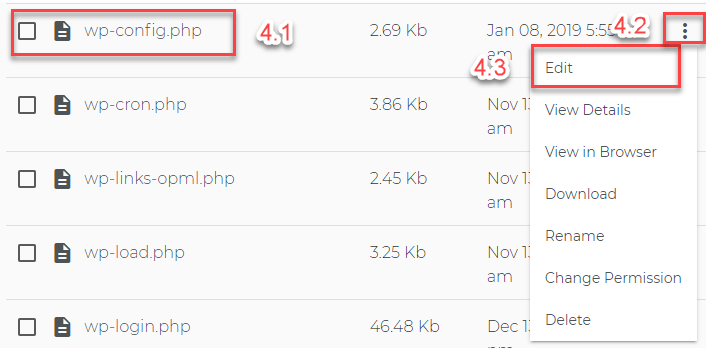
- Locate the following lines of code:
// ** MySQL settings - You can get this info from your web host ** //
/** The name of the database for WordPress */
define('DB_NAME', 'database_name');

/** MySQL database username */
define('DB_USER', 'database_username');

/** MySQL database password */
define('DB_PASSWORD', 'DatabasePassword');

/** MySQL hostname */
define('DB_HOST', 'database.hostname');
6. Click the Save button.

Want to learn more about WordPress
WordPress: Tutorial Videos To help you easily grasp the basics of creating a WordPress website, you have created several free tutorial videos. These videos were designed to be followed in order, but you are welcome to view whichever one best suits your needs.
You can always check out WordPress.org and browse their codex or online help forums. You may also contact us for technical assistance.
Related Articles
WordPress: How to Install
How to Update PHP for WordPress
WordPress: How to Keep WordPress Up-to-Date
How to Access Your WordPress Dashboard
WordPress: SSL Certificates