Creating Your Site With WebsiteBuilder
Create your perfect site in minutes! Answer a few questions, and our intelligent builder does all the work for you.
- Thousands of images for you to use
- Social media integration
- Free SSL Certificate
- Blog
- Lead Capture forms
Watch this video to get you started!
Publish your website in just a few easy steps!
Click Continue after you answer each question.
- Log in to your Domains Dashboard.

- On the dashboard, select the domain where your WebsiteBuilder is situated.
There are two views in the Domains dashboard - the Card and List views. Click on the view icons to switch to your preferred view.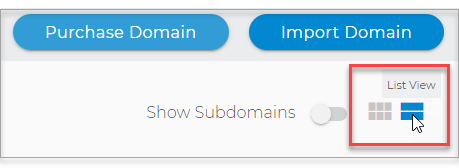
- Choose the domain you wish to modify.
In the Card view, click the domain's Manage button.
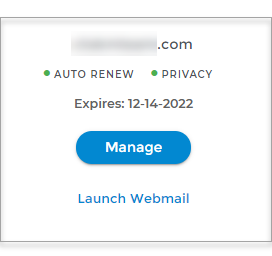
In List view, click the domain or its gear icon on the right-hand side.

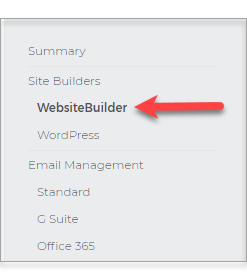
- On the left pane, click on WebsiteBuilder, under Site Builders.
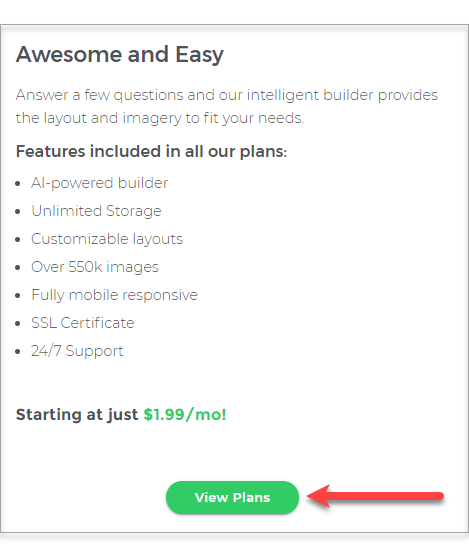
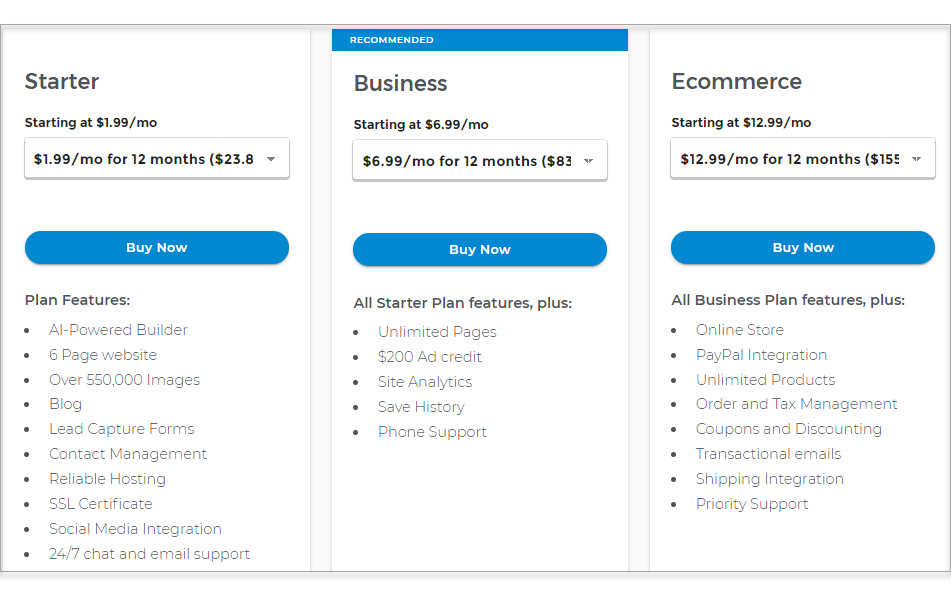
- If you have not purchased any of our WebsiteBuilder plans, please click on the View Plans button,
then choose a plan that suits your requirements. Otherwise, skip this step and proceed to step 5.
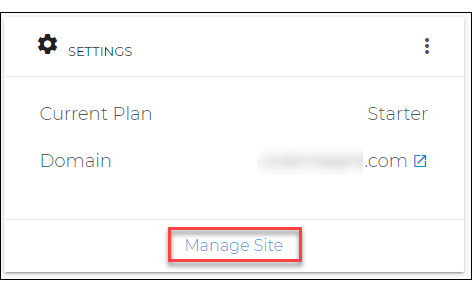
- Under Settings, click Manage Site. This action will open your WebsiteBuilder screen on a new tab.
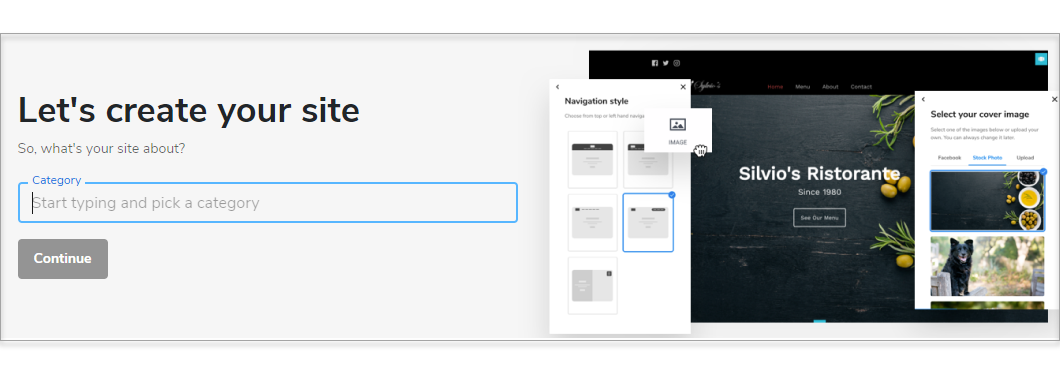
- Start typing and pick a category of your site.
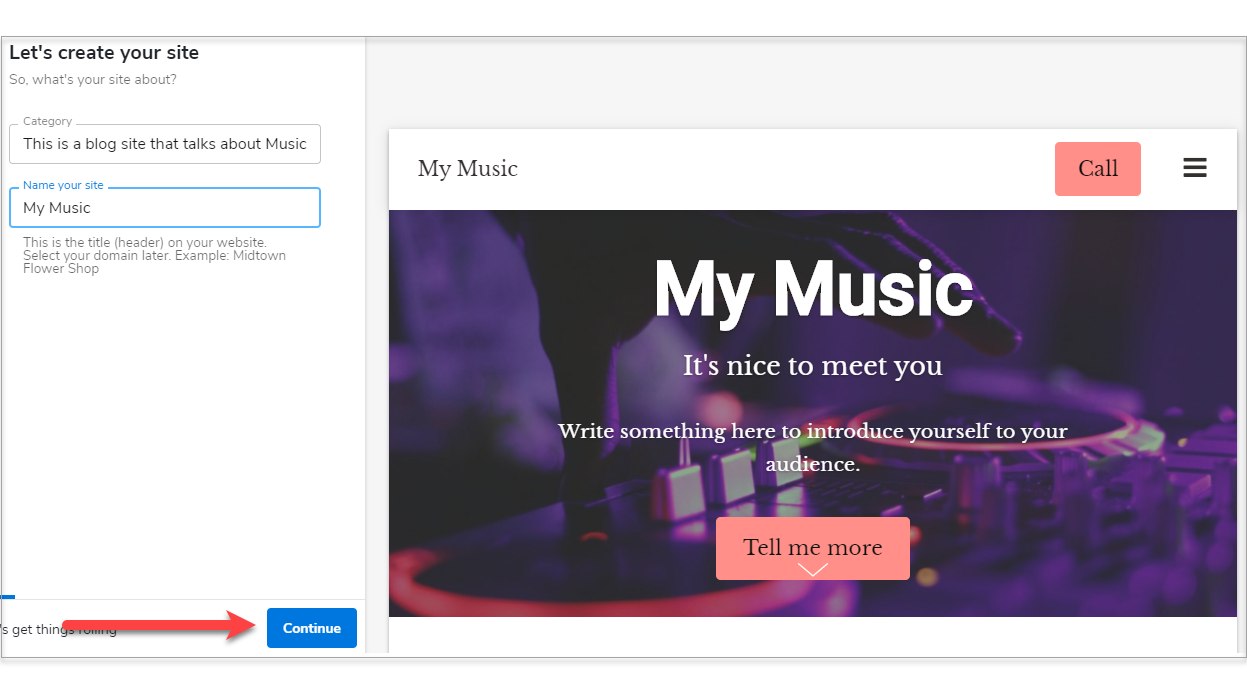
- Name your site and click Continue.
- Select your cover image and click Continue.

- Upload your site logo. If you don't have one yet, click Continue.
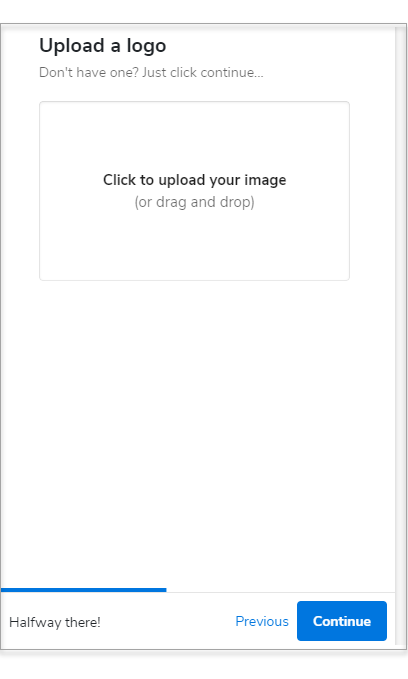
- Pick a theme and color combination for your website.
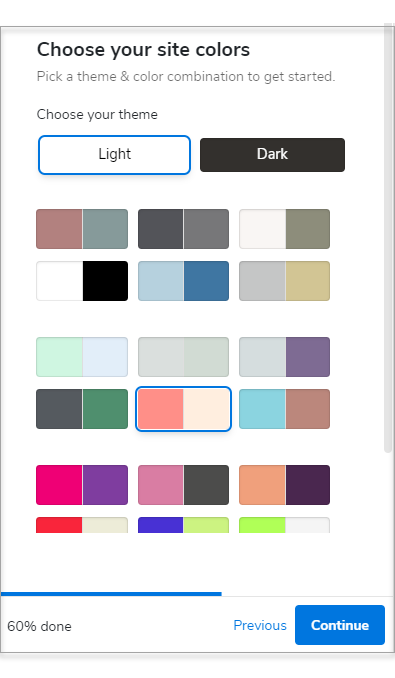
- Choose a Navigation Style.
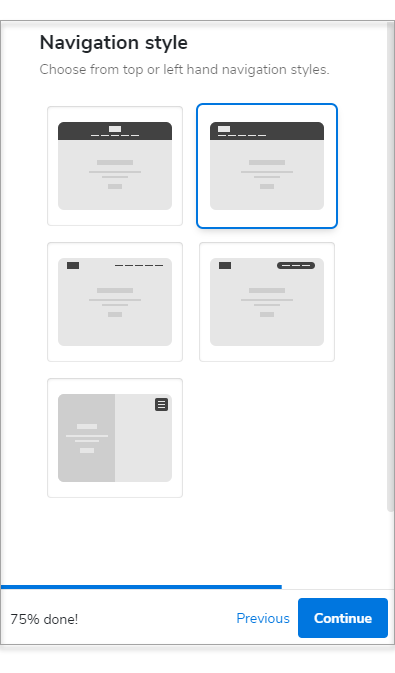
- Select a Font Pair.
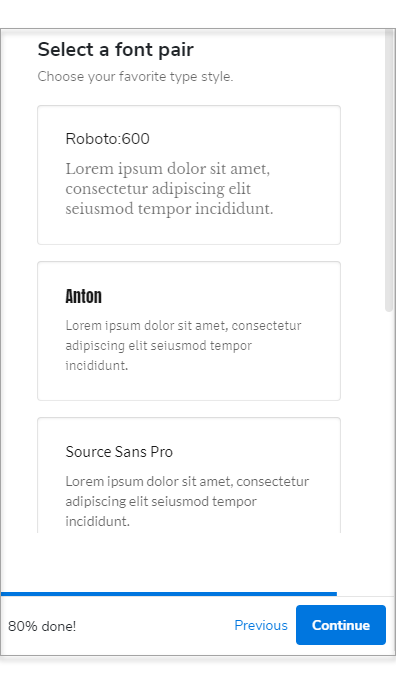
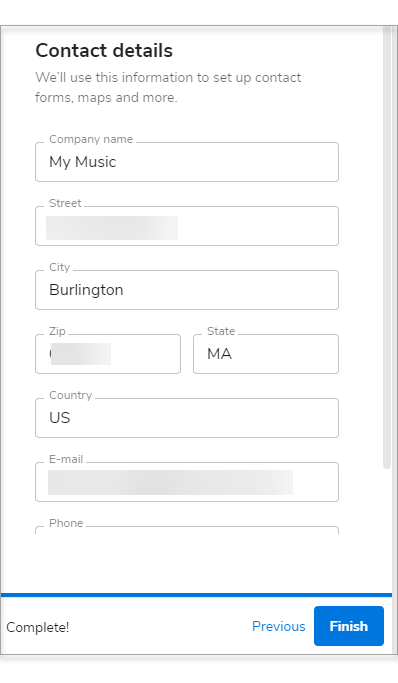
- Type in your contact details. We'll use this information for your contact forms, maps, and more.
- Click Finish.
NOTE: You can only have one WebsiteBuilder for a domain name. There is an option to change the domain name, but it should not be connected to any WebsiteBuilder.
From here, you can complete your website by:
- Adding content to your site.
- Adding more images to your site.
- Setting up Your Store
- Adding and Deleting Pages
- Adding or Delete a Section
- Adding a Blog
- Changing Your Theme Design
- Saving and Publishing Your Site